
I have tried a lot of brownie recipes over the years and most of them fall into the same trap. They come out fine. Edible. Chocolatey enough. But not the brownie you were imagining when you decided to make brownies. Not the dense fudgy almost gooey in the centre kind that has a crinkly shiny top and tastes like real chocolate rather than cocoa powder mixed with flour.
These are those brownies. The secret is using both melted dark chocolate and cocoa powder at the same time — one gives you richness and depth, the other gives you that intense chocolate hit that cocoa alone cannot deliver. Add an extra egg yolk for fudginess, beat the sugar in properly for that shiny crinkled top and pull them out of the oven before they look completely done. What looks slightly underbaked at the 22 minute mark becomes perfectly fudgy once they cool. These are the brownies people ask you to bring to every gathering from this point forward. That is just what happens.
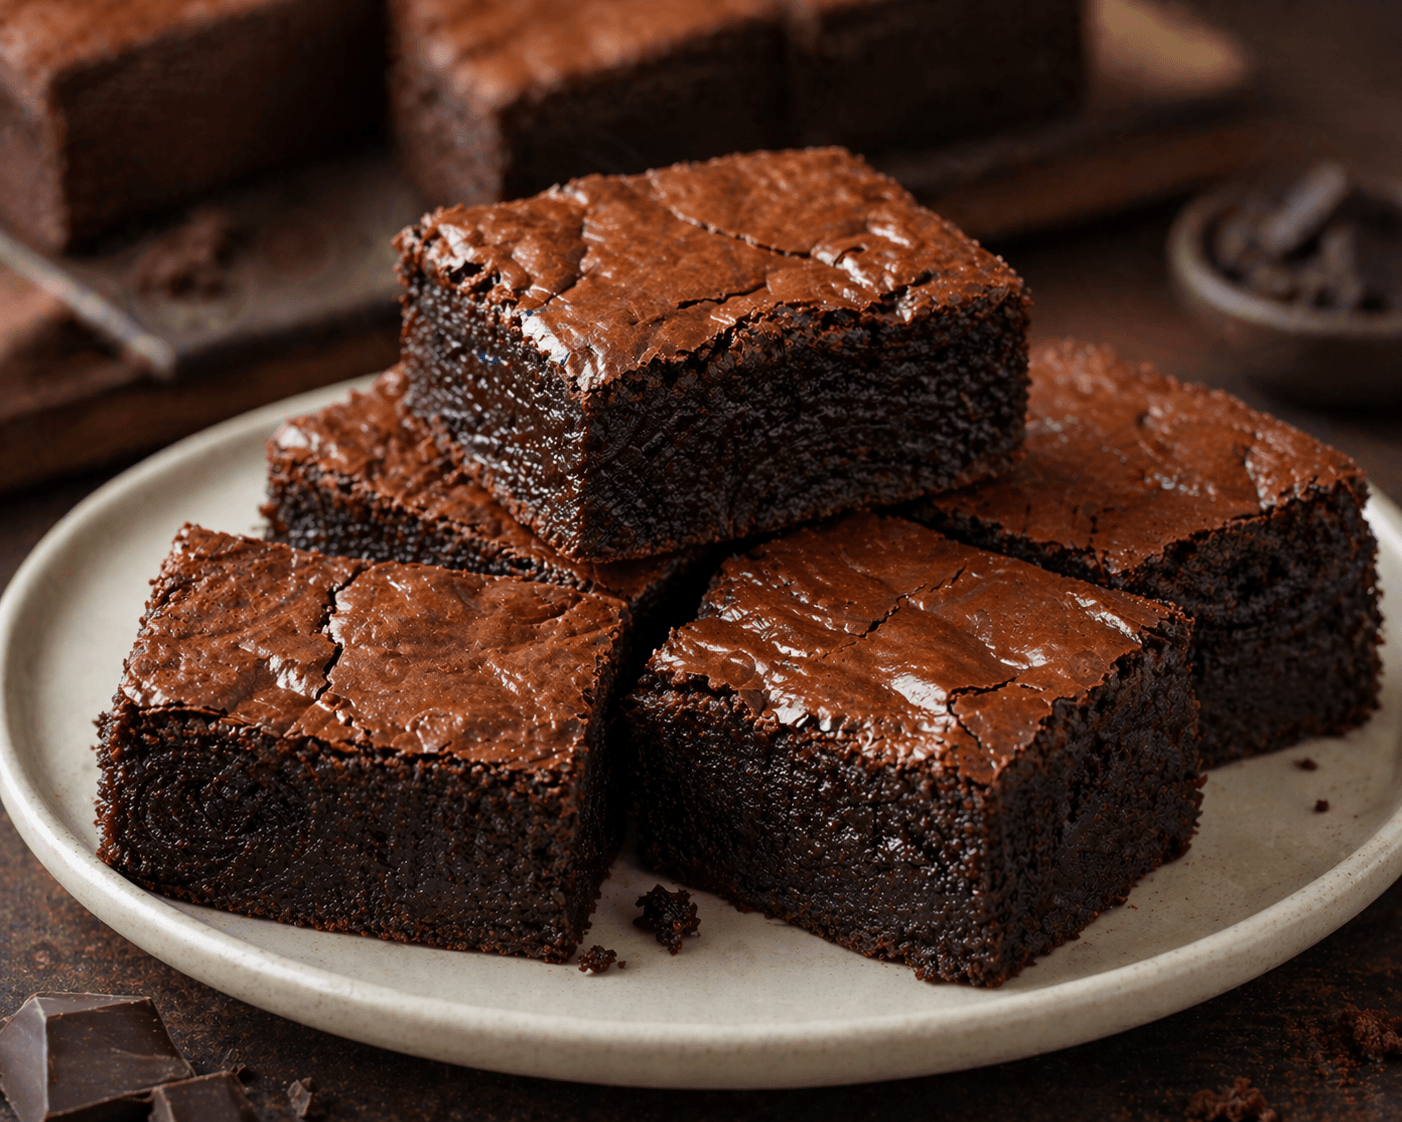
chocolate fudge brownies with crinkly top cut into squares on parchment paper
Servings : 16
Ingredients :
- 200 grams dark chocolate 70% roughly chopped
- 0.8 cups unsalted butter
- 1.5 cups granulated sugar
- 0.5 cups brown sugar packed
- 3 large eggs
- 1 egg yolk
- 2 teaspoons vanilla extract
- 0.8 cups all purpose flour
- 0.5 cups unsweetened cocoa powder
- 0.5 teaspoons salt
- 1 teaspoons espresso powder optional but recommended
- 0.5 cups chocolate chips
Steps :
1. Prep the pan: Heat your oven to 350°F. Grease a 9×13 inch baking pan and line it with parchment paper leaving some overhang on the sides so you can lift the whole slab out cleanly after baking. This is not optional — trying to cut brownies in a pan without parchment is a frustrating experience that results in broken pieces and a pan that is very difficult to clean.
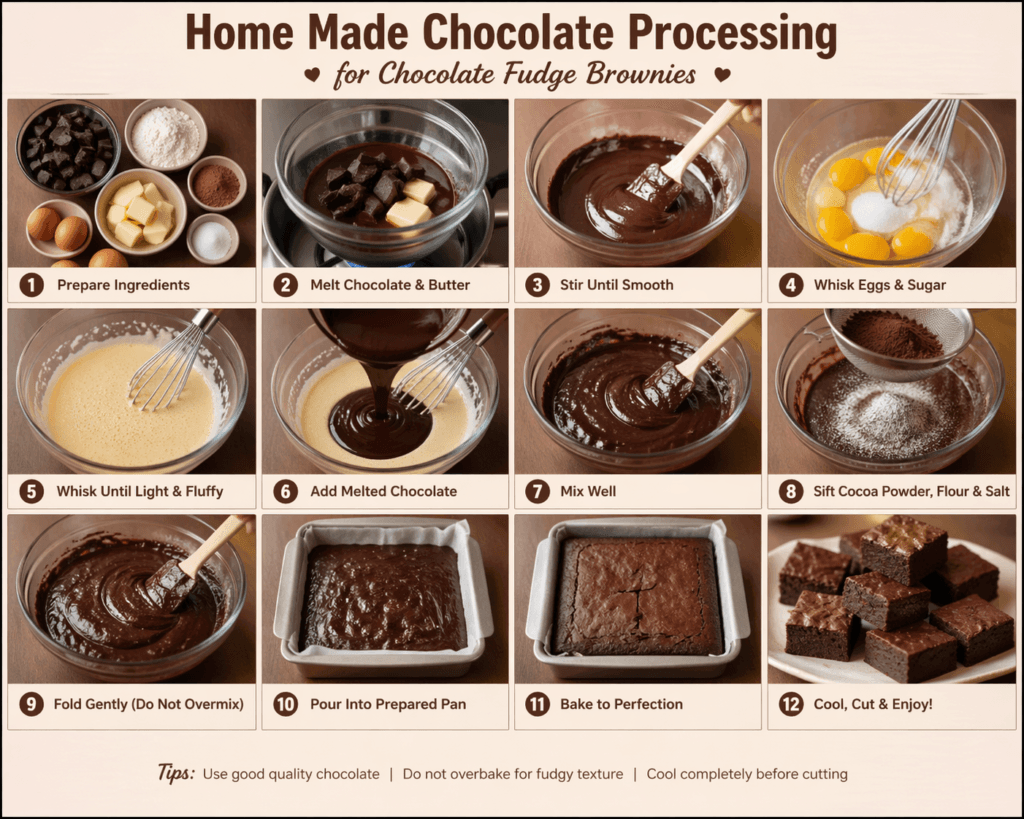
2. Melt the chocolate and butter together: Place 200 grams dark chocolate 70% roughly chopped and 0.8 cups unsalted butter together in a heatproof bowl. Set the bowl over a pot of barely simmering water — the bottom of the bowl should not touch the water. Stir gently as everything melts together until the mixture is completely smooth and glossy. Take it off the heat and let it cool for about 10 minutes. It should feel warm but not hot when you touch the side of the bowl. If it is too hot when the eggs go in they will scramble and that is a situation nobody wants.
3. Whisk in the sugars — do not rush this: Add 1.5 cups granulated sugar and 0.5 cups brown sugar packed to the warm chocolate mixture and whisk vigorously for about 2 full minutes. This step is more important than it sounds. The sugar does not fully dissolve — what you are actually doing is creating the structure that gives brownies their signature crinkly shiny top. Undermix here and the top will be dull and flat. Two full minutes of enthusiastic whisking is what you are going for.
4. Add the eggs and vanilla: Add 3 large eggs and 1 egg yolk one at a time whisking between each addition. Add 2 teaspoons vanilla extract and whisk again. The mixture should look thick and glossy and slightly lighter in colour after all the eggs are in. If it looks broken or grainy keep whisking — it will come together.
5. Fold in the dry ingredients: Sift 0.8 cups all purpose flour, 0.5 cups unsweetened cocoa powder, 0.5 teaspoons salt and 1 teaspoons espresso powder optional but recommended directly into the chocolate mixture. Fold everything together with a spatula using slow deliberate strokes — fold from the bottom up and turn the bowl as you go. Stop the absolute moment you cannot see any streaks of dry flour. Do not keep folding. Do not stir. The more you work the batter at this stage the tougher and cakier the brownies become. A few fold past combined and you are done. Fold in 0.5 cups chocolate chips.
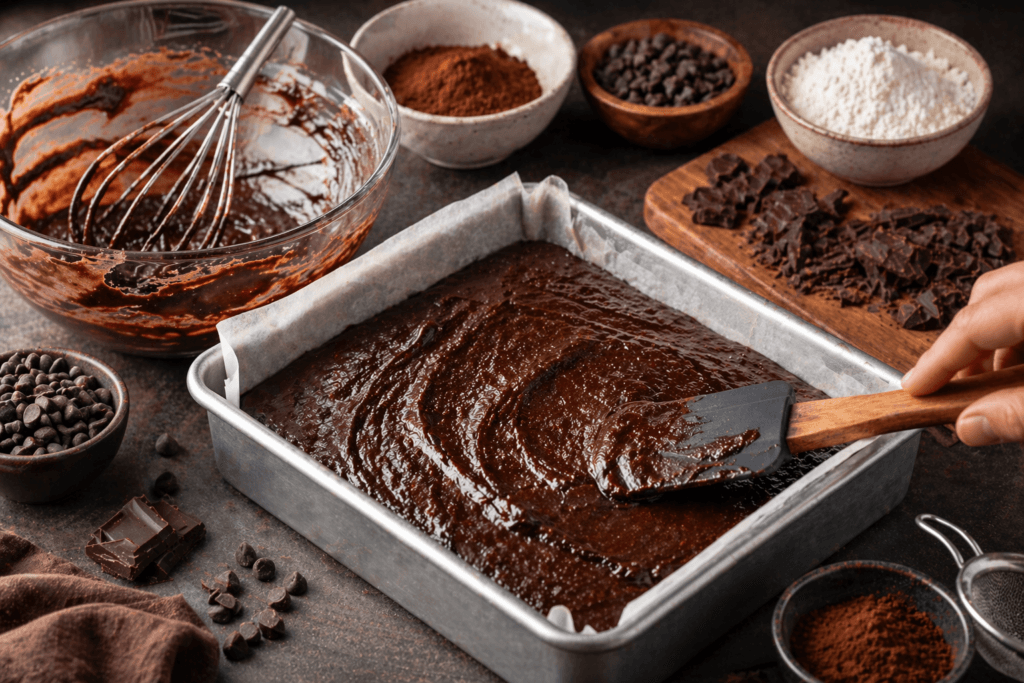
6. Pour and spread the batter: Pour the batter into the prepared pan and use a spatula to spread it into an even layer right to the edges. The batter will be thick. Tap the pan gently on the counter a couple of times to settle any air bubbles. Scatter a small handful of extra chocolate chips over the top if you want — purely optional but they melt into little pools of chocolate on the surface and look genuinely beautiful.
7. Bake and do not overbake: Bake for 22 to 23 minutes. At the 22 minute mark open the oven and give the pan a gentle shake. The edges should look fully set and the centre should wobble very slightly — like a set jelly rather than liquid batter. If the centre looks completely liquid give it two more minutes. If it looks fully set it is already done. Pull it out. Let it cool in the pan on a wire rack for at least one hour before lifting it out and cutting it. I know that is hard. Do it anyway.
8. Lift out and cut cleanly: Use the parchment overhang to lift the whole slab out onto a cutting board. Use a knife and wipe it clean between each cut for perfectly clean edges. Cut into 16 squares. The brownies should look fudgy and dense in the cross section — not cakey with a dry crumb but thick and slightly glossy in the middle. That is what you were working towards and that is exactly what you have.
Why These Brownies Are Actually Fudgy
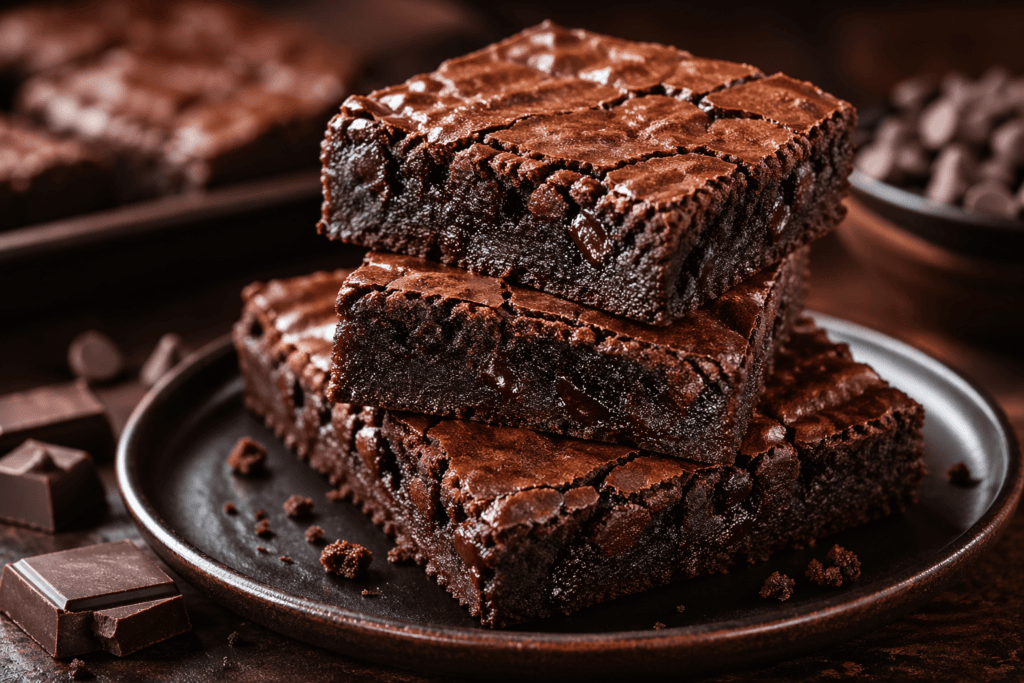
Most brownies people describe as fudgy are really just slightly underbaked cakey brownies. Genuinely fudgy brownies have a different texture entirely — dense and almost sticky in the best possible way with a crumb that looks almost wet in the cross section even when fully cooled. That texture comes from a specific ratio of fat to flour and from not overbaking.
This recipe uses significantly more fat than flour. The melted chocolate, butter and extra egg yolk all contribute fat and richness that keeps the structure loose and dense rather than airy and cakey. The relatively small amount of flour means there is not enough gluten development to give you a bready texture. Everything works together to produce a brownie that is genuinely different from what most home bakers are used to making.
The Crinkly Top — How It Actually Happens
That shiny crinkled surface that makes a brownie look like a proper brownie is not an accident and it does not just happen on its own. It comes from beating the sugar into the warm chocolate and butter mixture vigorously for a full two minutes before anything else goes in.
What you are doing in those two minutes is dissolving the surface of the sugar crystals slightly and incorporating air into the mixture at the same time. When that sugar-rich mixture hits the heat of the oven the dissolved sugar migrates to the surface and creates that thin crinkled shell as the brownies bake. Skip this step or underdo it and the top will be matte and flat. Two full minutes of enthusiastic whisking is what you are working toward.
The One Rule That Matters Most
Do not overbake. This is the single most important instruction in this entire recipe and the one most people ignore because the brownies look underdone when they should come out. At the 22 minute mark give the pan a gentle shake. The edges should look fully set. The centre should wobble slightly — like a firmly set jelly rather than liquid batter. That wobble is what you want. Pull them out.
The brownies will continue cooking from the residual heat in the pan for several minutes after they come out of the oven. What looks slightly underdone at the 22 minute mark becomes perfectly fudgy once they have cooled completely. Every minute past that wobble stage is a minute of fudginess you are baking away permanently.
What to Serve Alongside
These brownies are perfect completely on their own and honestly that is how most of them get eaten — cut warm from the pan with no ceremony whatsoever. But if you want to make them into a proper dessert a scoop of vanilla ice cream on the side is the most obvious and most correct choice. The cold ice cream against the dense warm chocolate brownie is one of those combinations that exists for very good reason.
A drizzle of warm salted caramel over the top adds a sweet buttery contrast. Fresh raspberries or strawberries on the side cut through the richness with a little acidity. Whipped cream keeps things simple and lets the brownie itself stay the focus. Whatever you serve alongside these the brownie is always the main event.
Make It Your Own
The base recipe is already one of the best things you can make with chocolate but a few easy additions take it somewhere new. A generous pinch of flaky sea salt scattered over the top right before the pan goes into the oven adds a savoury contrast that makes every bite more interesting. Swirling two tablespoons of peanut butter into the batter before baking gives you a classic combination that never gets old. A handful of chopped walnuts or pecans folded in with the chocolate chips adds crunch. White chocolate chips swirled in create little sweet pockets throughout. Try the original version first and then make it your own from there.
Frequently Asked Questions :
Why did my brownies come out cakey instead of fudgy? Almost always one of two reasons — overbaking or too much flour. Make sure you are measuring the flour correctly by spooning it into the measuring cup rather than scooping directly from the bag which compacts it and adds significantly more than the recipe calls for. And pull the brownies out at the wobble stage, not when they look fully set.
What does the espresso powder do? It does not make the brownies taste like coffee — you genuinely cannot taste it. What it does is intensify the chocolate flavour in a way that is noticeable even if you cannot identify what is doing it. It is one of those background ingredients that you would miss if it was gone. Strongly recommended but not essential if you do not have it.
Can I use milk chocolate instead of dark chocolate? You can but the brownies will be noticeably sweeter and less intensely chocolatey. The 70% dark chocolate is what gives these their depth. If you use milk chocolate reduce the sugar slightly to compensate for the extra sweetness and expect a milder result.
How do I get clean cuts? Let the brownies cool completely before cutting — warm brownies fall apart. Use a sharp knife and wipe it completely clean between every single cut. For extra clean edges refrigerate the cooled brownies for thirty minutes before cutting and they will slice like a dream.
Can I freeze these brownies? Yes — these freeze incredibly well. Cut them into squares, wrap each one individually in plastic wrap and store in a freezer bag for up to three months. Thaw at room temperature for about an hour or microwave for 20 seconds from frozen.
Why add both chocolate and cocoa powder? Melted chocolate gives you richness, fat and a smooth texture. Cocoa powder gives you an intense concentrated chocolate hit that melted chocolate alone cannot provide. Using both is what makes the difference between a good brownie and a genuinely great one.
Nutrition Information Per Brownie(Approximate)
| Nutrient | Amount |
|---|---|
| Calories | 290 kcal |
| Protein | 4g |
| Carbohydrates | 36g |
| Fat | 16g |
| Fiber | 2g |
| Sugar | 28g |
| Sodium | 95mg |
Leave a Reply